Today I will cover the assembly steps for the cargo trailer involving the first part of the construction of the lid, more of the tail section, and additional work on the trailer floor. So let's get started.
The wooden strips were cut in the shape of a knife edge so that the hot wire would cut correctly when moving through the foam. The strips are also held down on both ends using painters tape to keep pressure on the foam.
This is what the foam looks like after the first cut using a hot wire bow. Nice and straight and smooth.
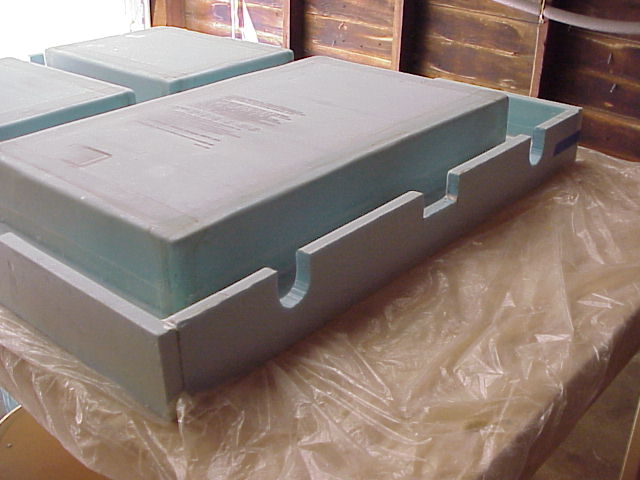
This photos shows that the first sub-assembly of the lid has been completely cut out. It actually has angle cuts made on all four sides of this large piece. Again it looks like a hard piece to make but with a few simple steps it can be made easily.
Here are a couple of views of the tail assembly and one of the sides of the trailer set up just to get an idea as to how big this assembly is already getting. The lower portion of the tail light assembly is 44 inches wide at this point not including the additional side panels that will make it even wider.
The upper rear body panels is being set up for hard mounts for the latches that will hold the lid of the trailer closed. These were glassed into place and aligned with the back face of the panel.
Parts, parts, parts...... over 100 in all. All the parts are finally cut and completed before final assembly in the garage could begin. The floor assembly alone at this point took 75 hours to complete.
The final assembly of the trailer had to be moved to the garage as my little workshop was nowhere near large enough to get it out of the shop. Doors simply are not big enough.
Her the first coating of resin/putty is applied to the floor of the trailer.
The outer panels of the floor are glassed into place at this point in the assembly making sure that everything is straight and true. These outer panels will allow for the mounting of the larger pieces of the body of the trailer. The plastic on the table is needed so that when you make the fiberglass parts you do not end up gluing your assembly to the table. The resin simply will not stick to the plastic which is always a good thing. It actually comes in handy on occasion when you are making certain parts or assemblies.
The lower front nose and tail section of the trailer are glued to the floor using clamps and resin/putty.
Wooden pads were placed on the foam so that once the clamp is tightened it did not crush the foam. Not a lot of pressure was needed to hold the parts in place while the resin cured over night.
A small trough was built into the floor for the electrical cover that will be added later to protect the wiring of the tail lights. The trough allowed for the placement of the cover along with several mounting screws which could be removed to take the cover off for inspection or replacement of lights and or wiring.
At this point the assembly has cured over night and another coat of resin/putty has been added to the interior of the floor. This will be sanded smooth to prepare it so that it can be ready for painting.
Lots of progress at this point in the build and lots of hours to go along with it. I was pleased to get the assembly out to the garage where I had room to walk completely around the trailer and not bump into anything in the process. Check back soon for further postings on this build.


No comments:
Post a Comment